
Popular articles





You’ve found a charging station, parked your car and opened EV.app. Everything looks ready. You tap to start charging, but your battery percentage isn’t going anywhere.
Before assuming the charger is broken, it’s worth checking a few simple things.
Starting a public EV charging session involves more than plugging in a cable. The app needs to communicate with the correct connector, the charging station needs to follow the right sequence, and your payment method needs to be authorised.
Get any one of those wrong, and your charging stop might take longer than planned.
Here are three common mistakes that can prevent EV.app charging from starting, how to spot them and what to do instead.
1. Selecting the wrong connector at the right charging station
Finding the correct charging location is one thing. Selecting the correct connector is another.
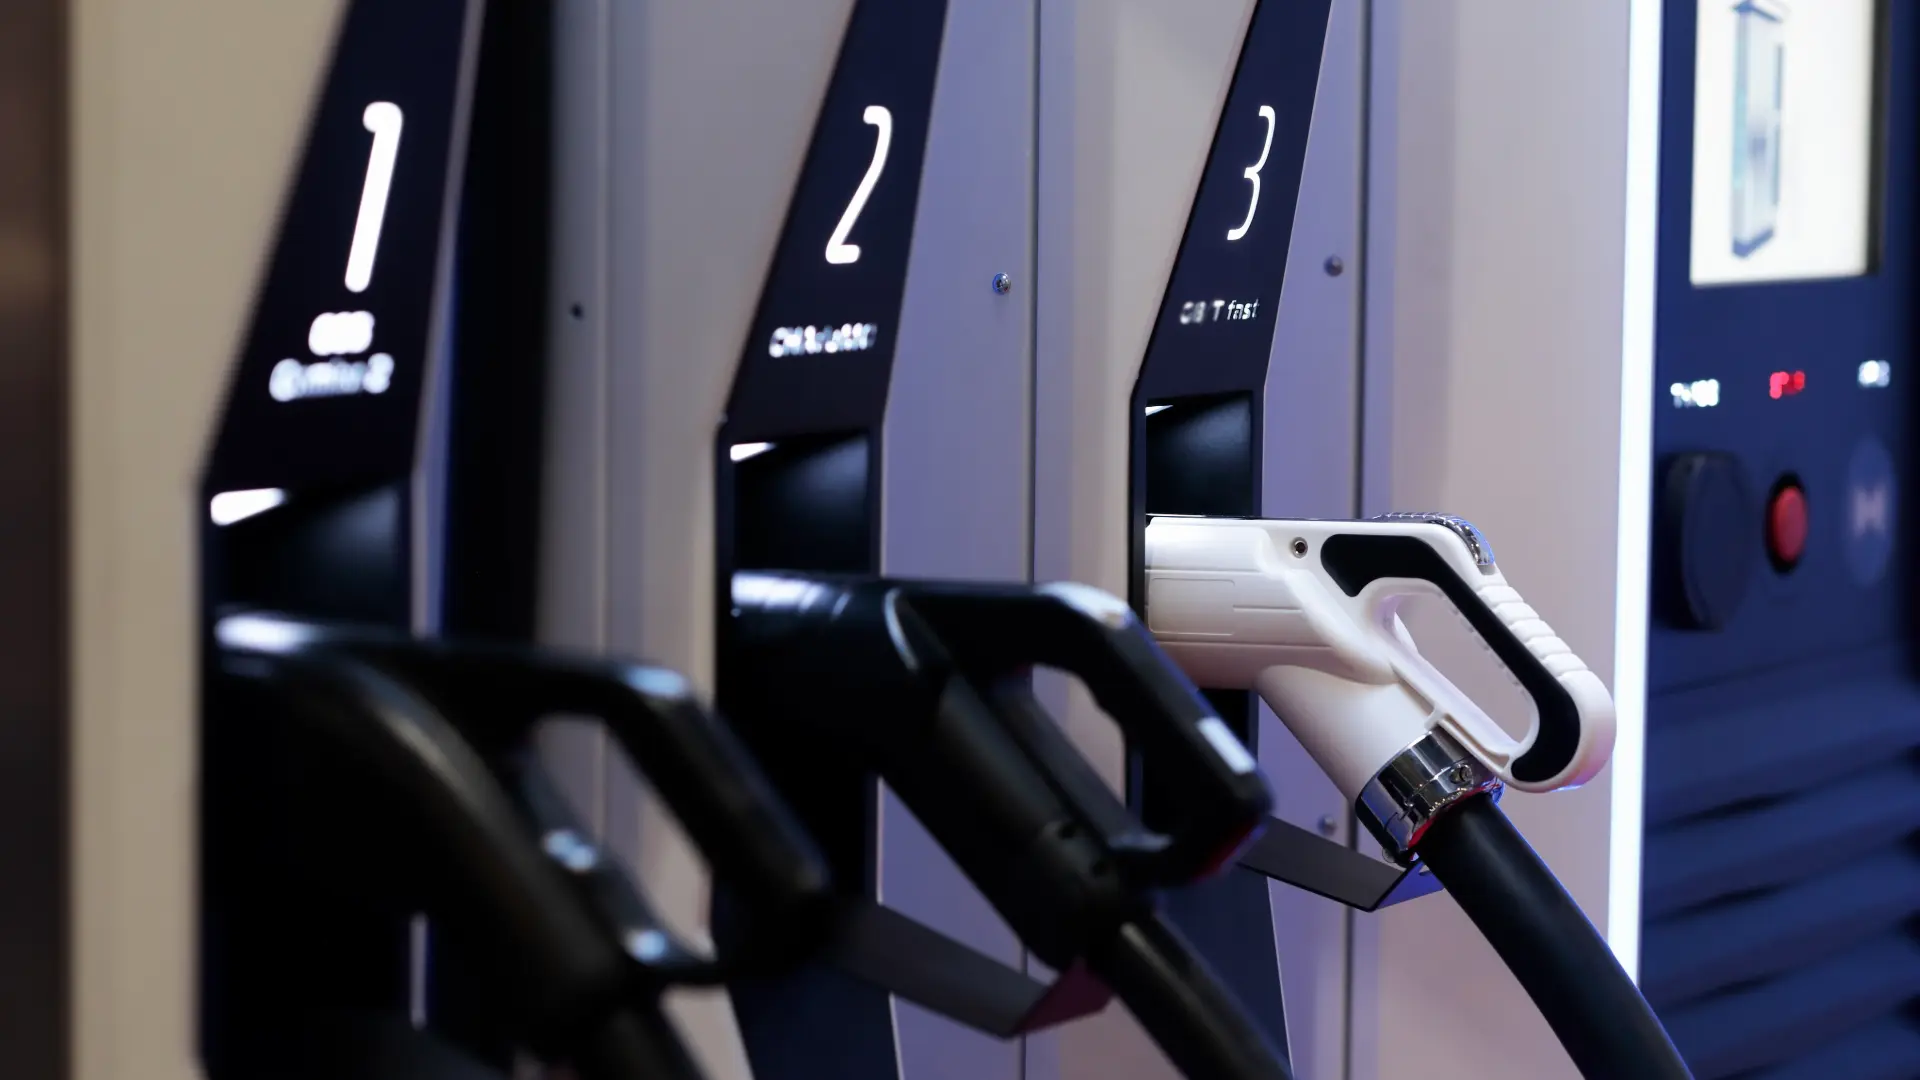
Many public charging stations have more than one charging point. A DC fast charger, for example, might have two cables, each identified separately.
And that’s where things can go wrong.
Imagine pulling up to a charger with two CCS connectors. You’re standing at the correct station, but when you open EV.app, you accidentally select connector B instead of connector A.
The app sends the start request to the connector you selected, not necessarily the one you’re about to use.
Same charger, wrong connector. No charging session for your car.
How to recognise the problem
The charging session doesn’t start as expected, even though you’ve selected the correct station on the map.
Check the connector identifier displayed in EV.app against the markings on the physical charger. Depending on the operator, connectors may be identified by numbers or letters.
If those identifiers don’t match, you’ve probably found the issue.
How to avoid it
Before starting a session, take a moment to check two things:
- The charging station identifier matches the physical unit.
- The connector identifier in EV.app matches the cable or socket you’re using.
Don’t rely on the location alone. Multiple connectors at the same station can look almost identical.
Already selected the wrong connector?
Wait 90 seconds. You can then stop the incorrect charging attempt and start a new one using the right connector.
It’s a small check, but much easier than troubleshooting a session that was never going to start at the connector you intended.
2. Plugging in and starting the session in the wrong order
There’s something surprisingly inconsistent about public EV charging: not every charger expects you to follow the same sequence.
At one station, you might need to start the session in your app before connecting the vehicle. At another, you might need to plug in first.
With EV.app, the usual sequence is to start charging in the app and then connect the cable to your car. Some chargers require the opposite order. When that applies, EV.app tells you before you start.
The mistake is assuming that every charger works exactly like the last one you used.
What happens if you get the sequence wrong?
You might initiate the process without the charger responding as expected. Or the cable may already be connected while the app is waiting for a different step.
The result can look like a failed start, even though you’ve selected the correct charger and have a valid payment method.
Of course, a charging session that doesn’t start isn’t automatically a sequencing problem. The vehicle or charging hardware could also be responsible.
That’s why checking the instructions is a better first move than repeatedly tapping Start.
The simple fix
Follow the sequence displayed in EV.app for the specific charging station.
In practice:
- Open the charging station details and select the correct connector.
- Read any instructions shown before starting.
- Start the session and connect the cable in the order indicated.
- Confirm that your vehicle has actually begun charging.
That last step deserves extra attention.
Don’t walk away the moment you’ve pressed the start button.
Stay with your vehicle for approximately one minute and make sure the charging session is genuinely underway.
Otherwise, you could return from your coffee break to discover that your battery hasn’t gained a single percentage point.
Not quite the charging stop you had in mind.
3. Having enough money for your top-up, but not for the card hold
You’ve planned a quick charging stop. You only need a little extra range, and you’re confident your payment card has enough money available.
But the payment authorisation fails.
What’s happening?
The missing piece might be payment pre-authorisation, also known as a temporary card hold.
Why does EV.app reserve money before charging?
Before a session begins, EV.app requests a temporary hold on your selected payment method.
The amount is calculated based on the estimated cost of charging your selected vehicle’s battery from 0% to 100%.
That doesn’t mean you’re expected to charge to 100%.
It also doesn’t mean the entire reserved amount will become your final bill.
The hold simply secures funds for the charging session. When charging finishes, the actual cost is calculated based on the session and applicable fees. Any unused reserved amount is released.
However, there’s an important detail: your payment method needs sufficient available funds for the full pre-authorisation amount, not just your planned top-up.
Even if you only intend to charge from 40% to 60%, the required temporary hold may be considerably higher than the cost of that short session.
How to spot this issue
If the charging process stops at the payment authorisation stage, check the pre-authorisation amount shown in EV.app before starting.
Then compare it with the funds actually available on your selected payment method.
Remember that your available balance may differ from your account balance if other transactions have already reserved funds.
And if sufficient funds are available, your bank could still decline the authorisation for another reason.
How to avoid it
Check your payment settings before you reach the charger, particularly if you’re using a new card or switching between personal and business billing profiles.
You can manage payment options in your EV.app profile.
Before confirming the charging session, review the displayed pre-authorisation amount. Make sure your card has enough available funds to cover it.
If the authorisation is declined despite sufficient funds, your card issuer can usually explain the banking-side reason.
A little preparation here can save you from discovering a payment issue while standing next to a charger.
Your 30-second pre-charging checklist
You don’t need to turn every charging stop into a technical inspection.
Just make these quick checks part of your routine:
- Vehicle: Is the correct car selected in EV.app?
- Connector: Does the connector ID match the one you’re using?
- Sequence: Are you following the instructions displayed in the app?
- Payment: Can your selected payment method cover the temporary hold?
- Confirmation: Has charging actually started before you leave?
These checks won’t prevent every possible charging problem, but they eliminate several avoidable reasons for a failed start.
What if none of these fixes work?
Sometimes the problem genuinely isn’t something you can solve yourself.
Public chargers can experience technical faults or communication issues. An unsuccessful start doesn’t automatically mean you’ve done something wrong.
If the charging hardware seems to be malfunctioning, contact the charging station operator using the support information displayed on the unit.
If the issue appears to be related to EV.app, report it through the support section in your profile. Include the charging station, the approximate time and the step where the process failed.
The more specific the information, the easier it is to investigate.
And remember: a successful start is only confirmed when the charging session is actually running.
The takeaway? Check the connector, follow the correct sequence and review the payment hold.
Three small details. A much smoother charging stop.
That’s how charging should feel.